Best Seller


How to Wire a Trailer Brake Controller Safely
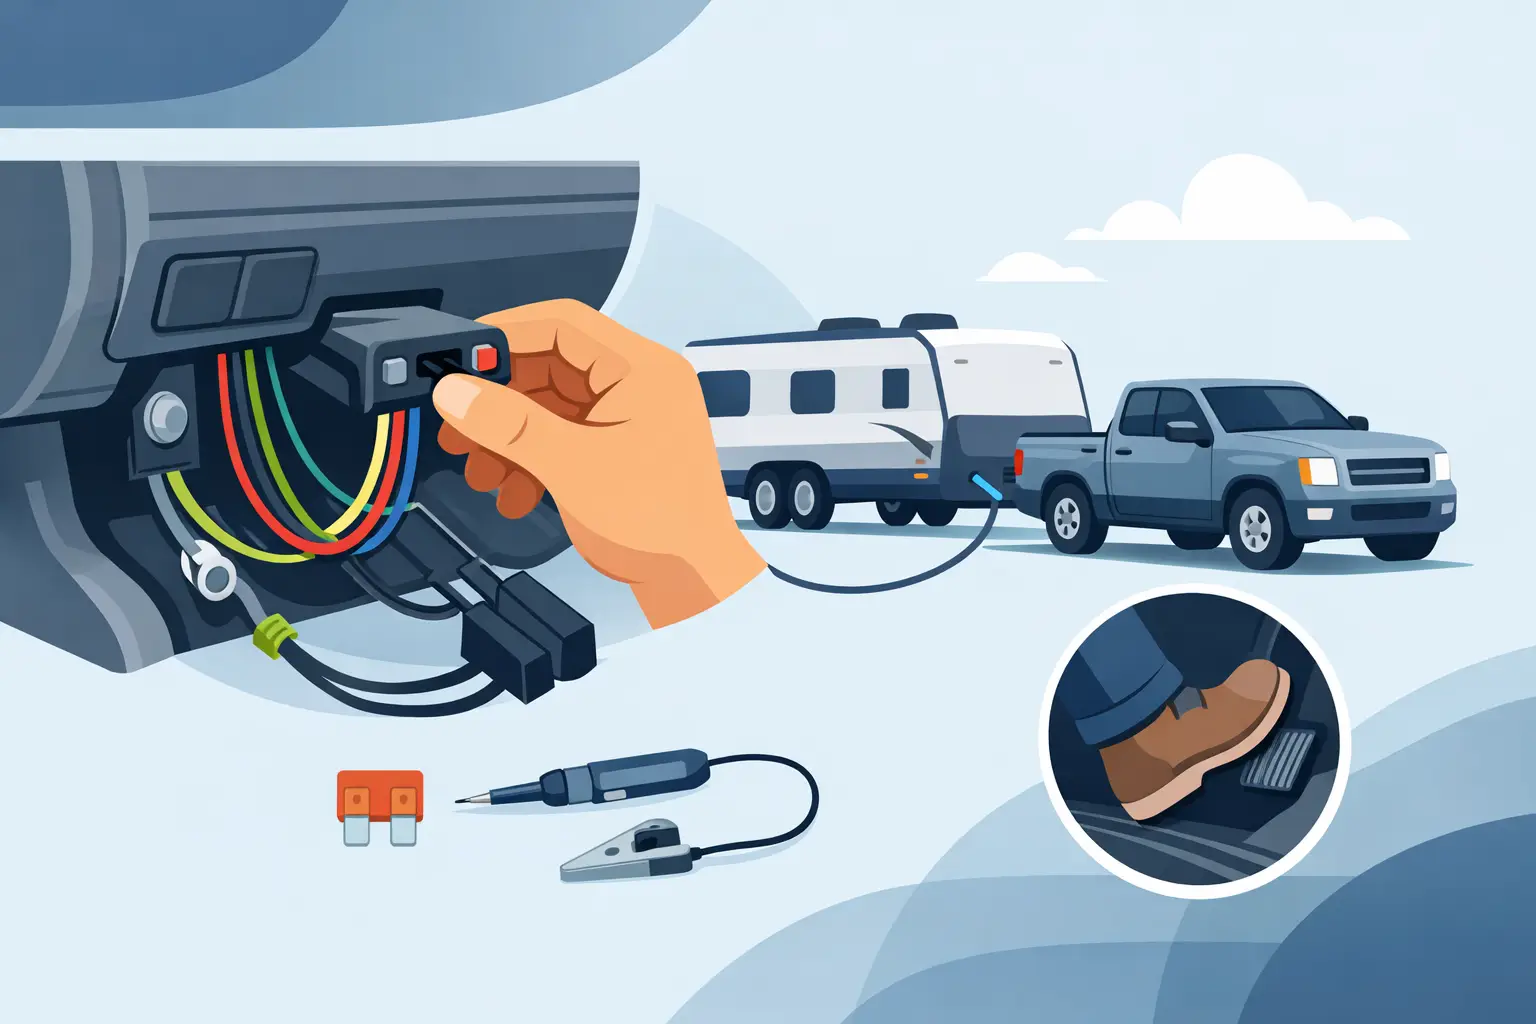
A loaded equipment trailer or work trailer can push a truck hard when traffic stops short. Knowing how to wire a trailer brake controller correctly gives the trailer its share of the braking work, helps protect the tow vehicle, and makes every haul more controlled. The right setup is not about adding wires wherever they fit. It is about matching the controller, vehicle connection, trailer brakes, and load.
For many newer trucks and SUVs, this is a straightforward plug-in job with a vehicle-specific harness. For older vehicles, aftermarket flatbeds, or trucks without factory tow prep, it can require a complete hardwire installation. Either way, clean connections and proper testing matter more than rushing the install.
Start With the Right Controller and Harness
Before pulling panels or cutting wire, confirm the trailer has electric brakes and determine how many brake axles it uses. A controller must be rated for the number of axles on the trailer. A single-axle utility trailer may need a lighter-duty setup than a loaded car hauler, enclosed contractor trailer, or equipment trailer with two brake axles.
Most buyers will choose between proportional and time-delayed controllers. A proportional controller senses deceleration and applies trailer braking in step with the tow vehicle. It generally delivers smoother braking and better control on varied terrain. For frequent towing, heavier loads, and mountain travel, it is usually the better choice.
A time-delayed controller applies braking based on a preset delay and power level. It can work well for occasional, predictable towing, but it may feel less natural during quick stops. The right choice depends on trailer weight, how often you tow, and how much adjustment you want at the dash.
Check whether your vehicle has a factory trailer brake controller connector under the dash. If it does, use the correct vehicle-specific adapter. This avoids unnecessary splicing, keeps the install cleaner, and reduces the chance of connecting to the wrong circuit. Do not assume two connectors that look similar are interchangeable. Year, make, model, trim, and factory tow package all affect fitment.
What You Need to Wire a Trailer Brake Controller
A plug-in installation may only require the controller, the correct harness, basic hand tools, and a mounting method approved by the controller manufacturer. A hardwire installation takes more preparation. Have a quality wire stripper and crimper, heat-shrink connectors, loom, zip ties, a multimeter or test light, appropriate wire, and a circuit breaker or fuse protection specified for the controller.
Use connectors built for automotive use, not household wire nuts or quick twists covered in tape. Work trucks see vibration, temperature swings, moisture, and dirt. A connection that looks fine in the driveway can fail after a few rough roads if it is not properly crimped, protected, and secured.
Disconnect the negative battery cable before making permanent power connections. Also inspect the trailer plug, tow vehicle socket, and trailer brake wiring. A new controller cannot fix corroded terminals, a damaged seven-way connector, poor trailer grounds, or worn brake assemblies.
Understand the Four Main Circuits
Most hardwired brake controllers use four basic connections: battery power, ground, brake pedal signal, and trailer brake output. Wire colors are commonly black for battery power, white for ground, red for the brake switch signal, and blue for brake output. Those colors are common, not a guarantee. Always verify the controller instructions and vehicle wiring before making a connection.
The power wire should run to the battery through the correct circuit breaker or fuse protection. Do not tap controller power into an accessory wire, radio circuit, or another convenience circuit under the dash. A brake controller needs a stable, protected power source that can handle the electrical load.
The ground wire needs a clean, reliable connection. A direct connection to the battery negative terminal is often preferred for a hardwired controller. If the manufacturer allows a chassis ground, use bare, clean metal and a secure fastener. Paint, rust, and loose sheet metal create voltage drop and erratic brake response.
The brake switch signal must connect to the cold side of the brake pedal switch. That is the wire that receives power only when the brake pedal is pressed. Test it with a meter or test light instead of guessing. Connecting to a constant-hot wire can keep the controller active or cause incorrect operation.
The brake output wire runs from the controller to the trailer brake terminal at the seven-way connector. This circuit sends controlled voltage to the trailer’s electric brake magnets. Keep it protected in loom, routed away from exhaust heat and moving pedals, and secured so it cannot chafe through on sharp edges.
Mount the Controller Where It Can Work
Mounting location matters, especially with proportional controllers. Many units need to sit level or within a stated angle range so their internal sensor can read vehicle movement correctly. Follow the controller’s mounting instructions rather than placing it wherever there is open space.
Keep the controller within easy reach of the driver. You need access to the manual override and gain controls without leaning across the cab or taking attention off the road. Avoid locations that interfere with pedals, knee airbags, dash panels, or normal entry and exit from the truck.
A clean install should look intentional. Route the harness behind trim where practical, protect it with loom, and secure it so it cannot hang near the driver’s feet. On a work truck, this kind of detail pays off when the cab gets used hard every day.
Set Gain Before You Trust the Setup
Wiring the controller is only half the job. Brake gain determines how much braking force the trailer receives when the tow vehicle slows. Too little gain and the trailer pushes the truck. Too much gain and the trailer wheels can lock, especially on loose gravel, wet pavement, or an empty trailer.
Start with the controller manufacturer’s recommended baseline setting. With the trailer connected and loaded as it will be for travel, find a safe, open area away from traffic. At low speed, use the manual override to feel whether the trailer brakes engage. Then make several controlled stops using the truck’s brake pedal.
Increase gain gradually if the trailer feels like it is shoving the tow vehicle. Reduce it if the trailer brakes grab or lock. The correct setting can change with trailer weight, road conditions, and cargo placement. A controller set for an empty utility trailer will not necessarily be right for a loaded skid steer or vehicle hauler.
Check the Full Towing System
A brake controller works as part of a complete towing setup. Confirm the breakaway system is charged and functional, the seven-way plug locks firmly into the vehicle socket, and all lighting works. Inspect tire condition and pressure on both the tow vehicle and trailer, then verify the hitch, coupler, safety chains, and weight distribution are appropriate for the load.
If the controller display shows a trailer connection error, intermittent output, or no brake response, stop and diagnose the issue before towing. Common causes include corrosion in the plug, a weak trailer ground, a damaged blue brake wire, worn brake magnets, or an incorrect connection at the brake pedal switch. Replacing the controller without checking the rest of the system can waste time and money.
When a Plug-In Harness Is Not Enough
Some late-model vehicles use factory tow wiring that is not fully activated, may need a specific harness, or may require programming for proper operation. Other vehicles have no usable brake controller connector at all. That is where direct fitment knowledge matters.
If your truck has aftermarket wiring, prior repair work under the dash, a modified flatbed, or an older trailer plug conversion, take the extra time to trace circuits and verify voltage. This is not the place for guesswork. A professional installation is often the right call when wiring access is limited, factory electronics are involved, or the trailer is used for commercial loads.
HCR Custom Fabrication can help truck owners find towing equipment that fits the vehicle and the job. The goal is simple: parts that perform, wiring that stays protected, and trailer brakes that respond when the load is behind you.
Before the next haul, give the controller one more low-speed test with the trailer loaded. That small check can make the difference between a trailer that follows your truck and one that starts making decisions of its own.