Best Seller


RV Tow Bar Setup Guide for Safe Flat Towing
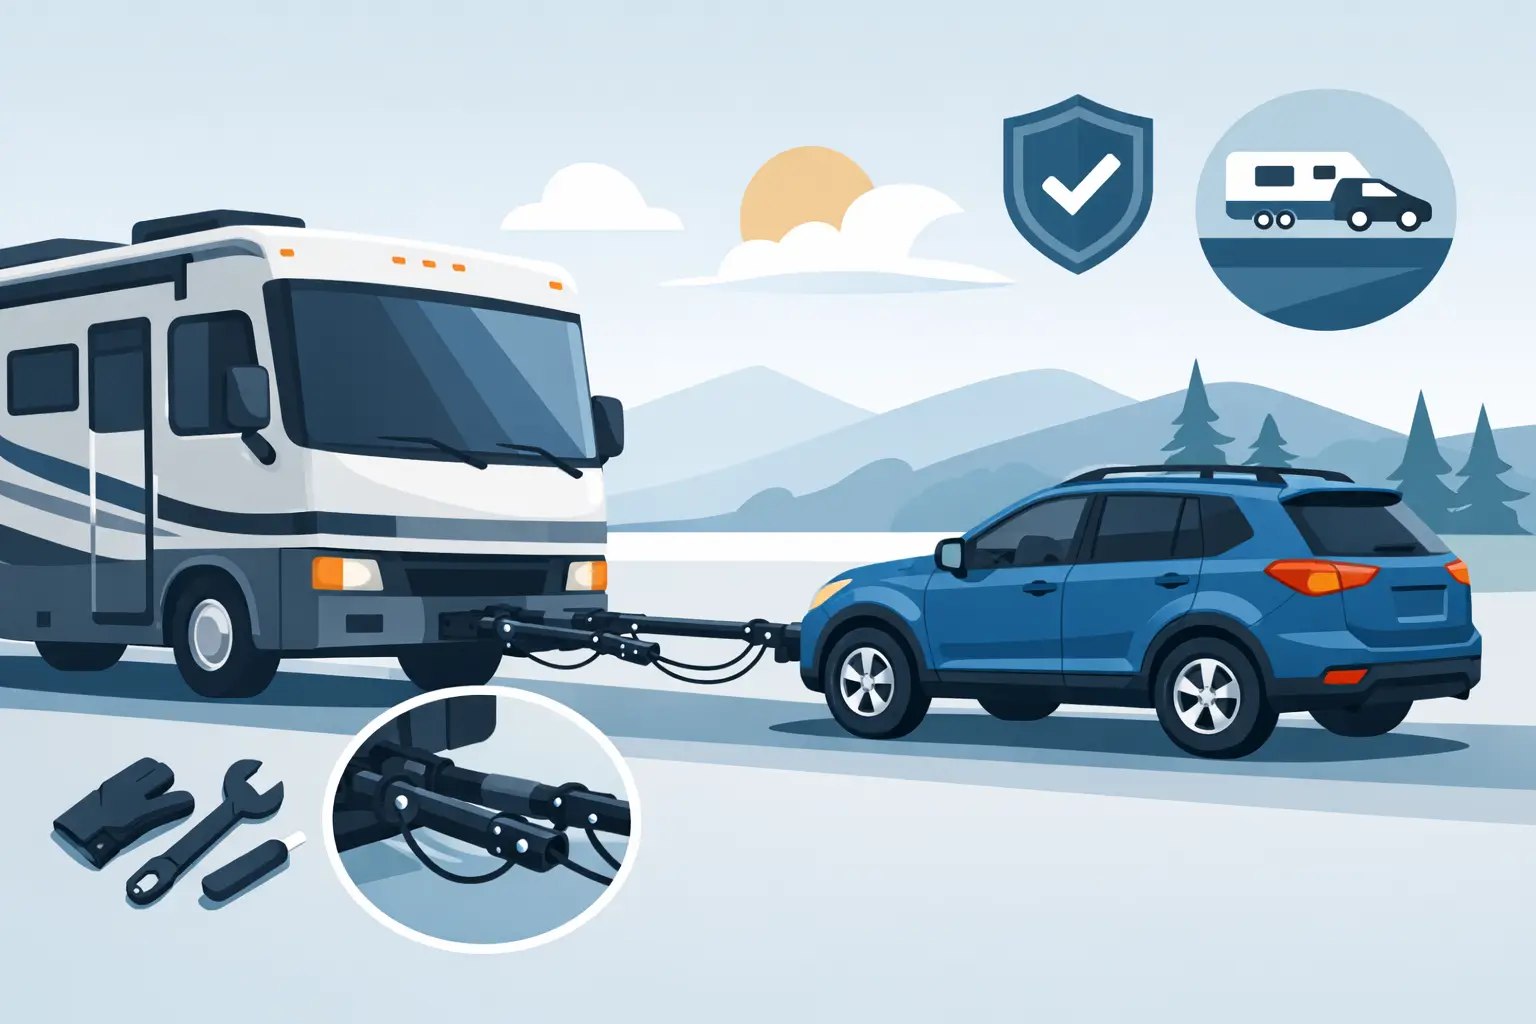
Flat towing goes smoothly when the setup is right before you ever leave the driveway. This rv tow bar setup guide is built for RV owners who want a dependable, vehicle-specific towing system without guessing at fitment, height, or hookup order.
What a proper RV tow bar setup actually includes
A tow bar is only one part of the system. Safe flat towing depends on how every component works together, and that is where many problems start. Buyers often focus on tow bar weight rating first, but the bigger issue is whether the whole setup matches the towed vehicle, the motorhome hitch height, and the way the vehicle is designed to be towed.
At a minimum, a complete setup usually includes the tow bar, a vehicle-specific baseplate, safety cables, electrical connection for lighting, and a supplemental braking system. Depending on the coach and the towed vehicle, you may also need a drop or rise hitch adapter to keep the tow bar within the manufacturer’s level range. If the bar runs too high or too low, you put extra stress on the system and can affect tracking, handling, and wear.
That is why fitment matters just as much as capacity. A strong tow bar does not fix a poor match between parts.
Start with the towed vehicle, not the tow bar
The smartest way to approach an rv tow bar setup guide is to begin with the vehicle you plan to tow. Not every vehicle can be flat towed, and not every baseplate fits the same way even within the same make. Year, trim, drivetrain, and fascia design can all change what works.
Before you buy anything, confirm that your vehicle is approved for flat towing by the manufacturer. Then verify that a compatible baseplate is available for that exact year, make, and model. This step saves time and prevents one of the most common mistakes in towing equipment purchases – ordering a universal-looking part that does not actually fit.
Once the vehicle is confirmed, look at the motorhome side. Check the hitch receiver size and towing capacity, but also pay attention to the actual loaded weight of the vehicle you plan to pull. Do not rely on curb weight alone if the towed vehicle carries cargo, accessories, or aftermarket equipment. A comfortable safety margin is better than running close to the limit.
Choosing the right tow bar for your setup
Tow bars are not one-size-fits-all. Some mount to the coach receiver and stay on the RV when disconnected. Others are designed differently, but for most RV owners, a motorhome-mounted bar is easier to handle and store in day-to-day use.
Weight rating matters, but ease of hookup matters too. A heavier-rated bar may sound like the obvious choice, but if it is more cumbersome than you need, it can turn every departure into a fight. On the other hand, going too light leaves you with less margin for real-world conditions. The best choice is a bar rated well above the actual towed weight, with attachment points that match the selected baseplate and enough articulation for uneven ground.
Self-aligning tow bars can make hookup easier, especially when the vehicle and coach are not perfectly straight. That is a practical advantage at campsites, fuel stops, and uneven parking areas. If you tow often, small convenience features usually pay off.
Baseplates are where fit and strength come together
A baseplate is not a cosmetic accessory. It is the foundation that connects the towed vehicle to the tow bar, and it needs to fit the frame and front-end structure correctly. Poor fitment here creates problems you cannot solve with adjustments later.
Vehicle-specific baseplates are built around exact mounting points, clearance needs, and attachment geometry. That matters for strength, but also for appearance and day-to-day usability. A clean install with removable attachment tabs gives you a better result than a setup that hangs awkwardly off the front of the vehicle.
This is also one area where exact fitment support is worth it. A part that fits one bumper style may not fit another. If you are shopping for towing equipment and you are not fully sure about trim differences, getting help before ordering is a lot cheaper than forcing a return after you have started the install.
RV tow bar setup guide to level and alignment
One of the most overlooked parts of an rv tow bar setup guide is keeping the tow bar level. Most tow bar manufacturers specify that the bar should ride within a limited number of inches from level between the motorhome receiver and the baseplate attachment points. If the coach sits much higher or lower than the towed vehicle, you need a drop hitch or rise adapter.
This is not a minor detail. An out-of-level tow bar can increase stress during turns, braking, and road transitions. It can also affect how the towed vehicle tracks behind the coach. If you have ever seen a setup that looked nose-up or nose-down, that is a sign the owner skipped a basic correction.
Measure on level ground with both vehicles loaded as they would be for travel. Suspension changes, tire size, and cargo weight can all affect final height. A quick measurement now prevents a lot of wear later.
Safety cables, wiring, and braking are not optional details
Once the tow bar and baseplate are selected, the rest of the system needs the same attention. Safety cables should be rated properly and routed cleanly without dragging. Crossing them under the tow bar is a common setup method because it helps create a cradle if the main connection ever fails.
Electrical wiring should support the lighting functions required for legal towing – typically tail lights, brake lights, and turn signals. Clean routing matters here. Sloppy wiring gets damaged, pinched, or pulled loose. If the plug location is awkward, you will notice it every time you hook up.
Supplemental braking is another key part of safe towing. In many cases, it is legally required, and even when it is not, it reduces stopping distance and strain on the motorhome. There are different brake system styles, and the right one depends on your coach, the towed vehicle, and how often you tow. A portable system may work fine for occasional use, while a permanently installed system may be a better fit for frequent travelers.
A practical hookup sequence that prevents mistakes
A good setup is only half the job. Consistent hookup procedure prevents the kind of errors that show up after the wheels are already rolling.
Park both vehicles on level ground and line them up as straight as possible. Attach the tow bar arms to the baseplate, connect the safety cables, plug in the electrical cord, and connect the supplemental braking system. Then prepare the towed vehicle exactly as required by the manufacturer for flat towing. That may include ignition position, transmission setting, transfer case procedure, steering unlock, or fuse-related steps depending on the vehicle.
Before moving, do a full walk-around. Check pin clips, cable routing, light function, and brake system status. Pull forward slowly and verify that the tow bar arms lock properly. After a short distance, stop and check everything again. A two-minute inspection beats dealing with damage on the shoulder.
Common setup mistakes that cost people time and money
Most towing problems trace back to a few repeat mistakes. The first is buying parts by general vehicle type instead of exact fitment. The second is ignoring tow bar level. The third is treating cables, wiring, and braking like add-ons instead of core parts of the system.
Another common issue is mixing components without confirming compatibility. Some combinations work well. Others create connection headaches, poor geometry, or the need for extra adapters that add play to the system. It depends on the brands and attachment styles involved, so it is worth checking before you stack parts together.
There is also the install question. Some owners are comfortable handling baseplate installation and wiring. Others would rather have help and know it is right the first time. That is not about capability. It is about how much time, tooling, and front-end disassembly your vehicle requires.
Buying with confidence instead of trial and error
The best rv tow bar setup guide is one that gets you to the right parts faster. That means starting with confirmed fitment, matching component ratings, and building a system that works as a unit instead of a pile of separate boxes.
If you are setting up a flat towing package, focus on three things first: vehicle compatibility, baseplate fitment, and tow bar height alignment. Once those are right, the rest of the system comes together a lot cleaner. For RV owners in Virginia, North Carolina, West Virginia, and Maryland who want real fitment support instead of guesswork, that kind of straight answer is what keeps towing simple.
A good tow setup should feel boring once it is done right – no drama at hookup, no surprises on the road, and no second-guessing every time you pull out of camp.