Best Seller


RV Water Heater Anode Rod: When to Replace It
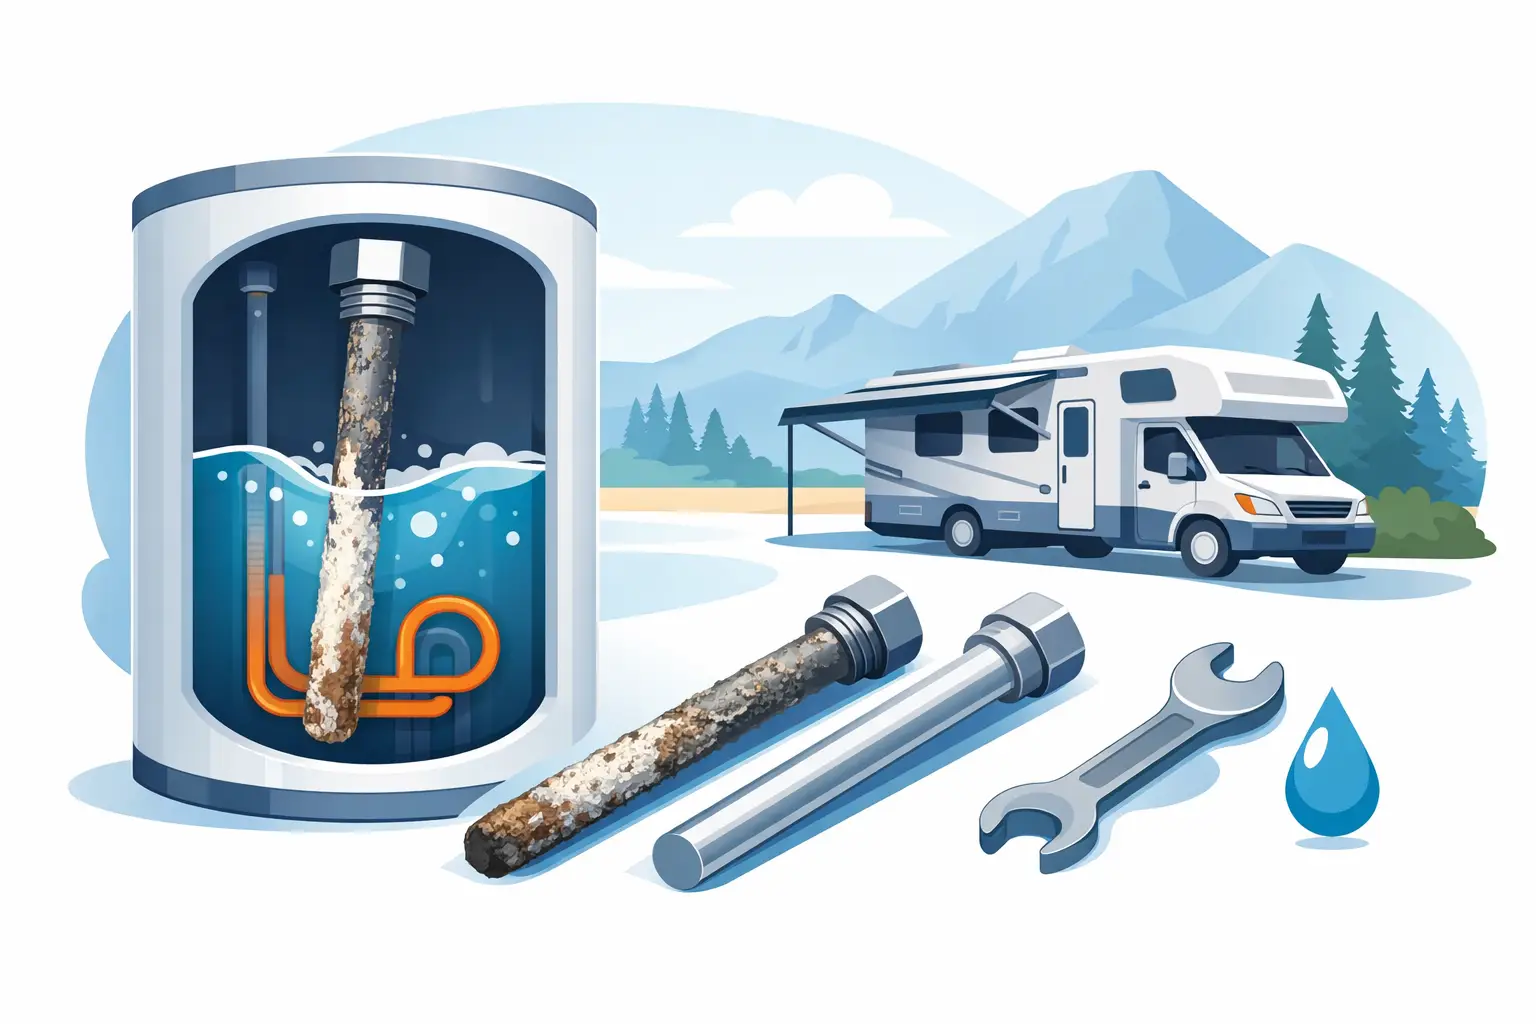
A neglected rv water heater anode rod can turn a simple maintenance job into a damaged tank, a shortened service life, and an unwelcome surprise at camp. This small threaded part is inexpensive, easy to inspect, and built to sacrifice itself so the steel tank does not have to. For RV owners who want dependable equipment on the road, checking it should be part of regular seasonal maintenance.
What an RV Water Heater Anode Rod Does
An anode rod is a sacrificial metal rod that threads into the drain opening on certain RV hot-water tank systems. Its job is simple: attract the corrosion that would otherwise attack the inside of the tank. The rod slowly breaks down over time, protecting the tank walls while it does.
That is why a rough, pitted, or heavily eaten-away rod is not always a sign of failure. It often means the rod has been doing exactly what it was designed to do. The problem starts when the rod is allowed to wear down too far. Once there is very little material left, corrosion can shift to the tank itself.
Not every RV uses an anode rod. Many steel-tank systems do, while aluminum-tank systems typically use a drain plug instead. Before ordering anything, identify your tank material and confirm the correct thread size. Forcing the wrong part into the drain opening can damage threads and create a leak that was not there before.
When Should You Replace the Anode Rod?
There is no single mileage number or calendar date that fits every RV. Water quality, storage conditions, how often the unit is used, and whether the tank is drained between trips all affect rod life. A full-time traveler using hard water may wear through a rod much faster than a weekend camper who maintains the system carefully.
A practical rule is to inspect the rod at least once each season and again before a long trip. Replace it when roughly 75 percent of the original material is gone, when the center wire is clearly exposed over a large area, or when the rod is deeply cracked and fragile.
If you recently bought a used RV, inspect it right away. Previous owners may have stayed on top of maintenance, but guessing is not a good plan when the condition of an internal tank is on the line. A quick inspection gives you a clear baseline and lets you start your own maintenance schedule.
Signs the Rod Needs Attention
The most obvious sign is a rod that looks thin, lumpy, heavily corroded, or almost reduced to its center core. You may also see white mineral buildup from hard water. That buildup does not automatically mean the rod is spent, but it is a good reason to inspect closely.
An unpleasant sulfur-like odor can also point to a water-quality issue, especially with certain rod materials. In some cases, switching from magnesium to an aluminum-zinc rod can reduce the odor. The trade-off is that magnesium generally offers stronger corrosion protection, so choose based on your water conditions and the system manufacturer’s guidance.
Choose the Right Material and Fitment
Fitment matters more than grabbing the first rod that looks close. Confirm the manufacturer, tank type, thread size, and rod length before ordering. Many RV steel-tank applications use a 3/4-inch NPT threaded rod, but that is not a universal rule. Vehicle-specific or model-specific details always beat assumptions.
Magnesium rods are common because they provide strong sacrificial protection. They are often a solid choice for standard use, but they can deteriorate faster in highly mineralized water and may contribute to odor concerns in certain conditions.
Aluminum or aluminum-zinc rods generally last longer and may be a better fit where hard water or odor is a recurring problem. They are not automatically the best upgrade for every owner, however. If maximum corrosion protection is the priority, magnesium may still be the better choice.
The correct rod should thread in smoothly by hand before you use a wrench. If it binds immediately, stop and verify fitment. Cross-threading a drain opening can turn a straightforward job into a more involved repair.
How to Inspect and Replace an RV Water Heater Anode Rod
Work only when the system is fully cool and pressure has been relieved. Hot water and pressurized tanks can cause serious burns, so give the equipment time to cool after use. Shut off the power source and pump, then open a hot-water faucet inside the RV to help release pressure.
Position a bucket or direct the drain area away from your work space. Use the proper socket, commonly a 1-1/16-inch socket on many applications, to loosen the existing rod. Keep clear of the drain opening as you remove it because remaining water may rush out.
Once the tank has drained, inspect the old rod. If it still has substantial material left and is not severely deteriorated, it may be usable for another service interval. If it is worn down, replace it with the correct material and thread size.
Clean the drain threads carefully if needed. Apply thread sealant approved for the application, then start the new rod by hand. Tighten it securely without overdoing it. Excess force can damage threads or make the next inspection harder than it needs to be.
After reinstalling the rod, close the drain, refill the system, and check for leaks before restoring power. Never energize an empty tank. Let the system fill completely and purge air through an open hot-water faucet before putting it back into service.
Do Not Skip Tank Flushing
Replacing the rod protects the tank, but it does not remove sediment already sitting inside. Mineral deposits collect over time, especially in areas with hard water. That sediment can reduce efficiency, create noise, and make it harder to drain the tank completely.
Flushing the tank during anode rod inspection is a smart way to handle both jobs at once. With the rod removed and the system cool, use a tank-rinsing tool or controlled water flow to work loose sediment until the discharge runs clear. Keep the stream directed into the tank and avoid damaging internal components.
If the RV has been parked for months, a flush before the first trip of the season is especially worthwhile. It is a simple service step that can prevent stale water, reduce buildup, and help you catch problems before you are far from home.
Common Mistakes That Cost More Later
The biggest mistake is waiting until the rod disappears completely. At that point, the tank has lost one of its main lines of defense. Another common mistake is assuming every RV has the same setup. Some systems use a drain plug, and installing an anode rod where one does not belong is not an upgrade.
Avoid using aggressive tools or excessive torque when removing an old rod. Corrosion can make it stubborn, but damaged threads are a bigger problem than a stuck part. A correct socket, controlled pressure, and patience are usually the right approach.
Also avoid reinstalling a questionable old rod just because it has not failed completely. If the core is exposed or the material is badly deteriorated, replacement is cheap insurance compared with replacing a tank assembly.
Build It Into Your RV Maintenance Routine
An anode rod inspection takes far less time than dealing with a damaged tank during travel season. Add it to your pre-trip checklist along with tire pressure, towing equipment, battery condition, and fluid checks. Keep a spare correct-fit rod in your RV if you travel frequently or spend time in areas with hard water.
When it is time to buy, verify the tank type before you order. The right part, the right threads, and a few minutes of preventive work can keep your RV ready for the next haul, campground, or long weekend away.