


 Best Seller


Restoration Sheet Metal Panels That Fit Right
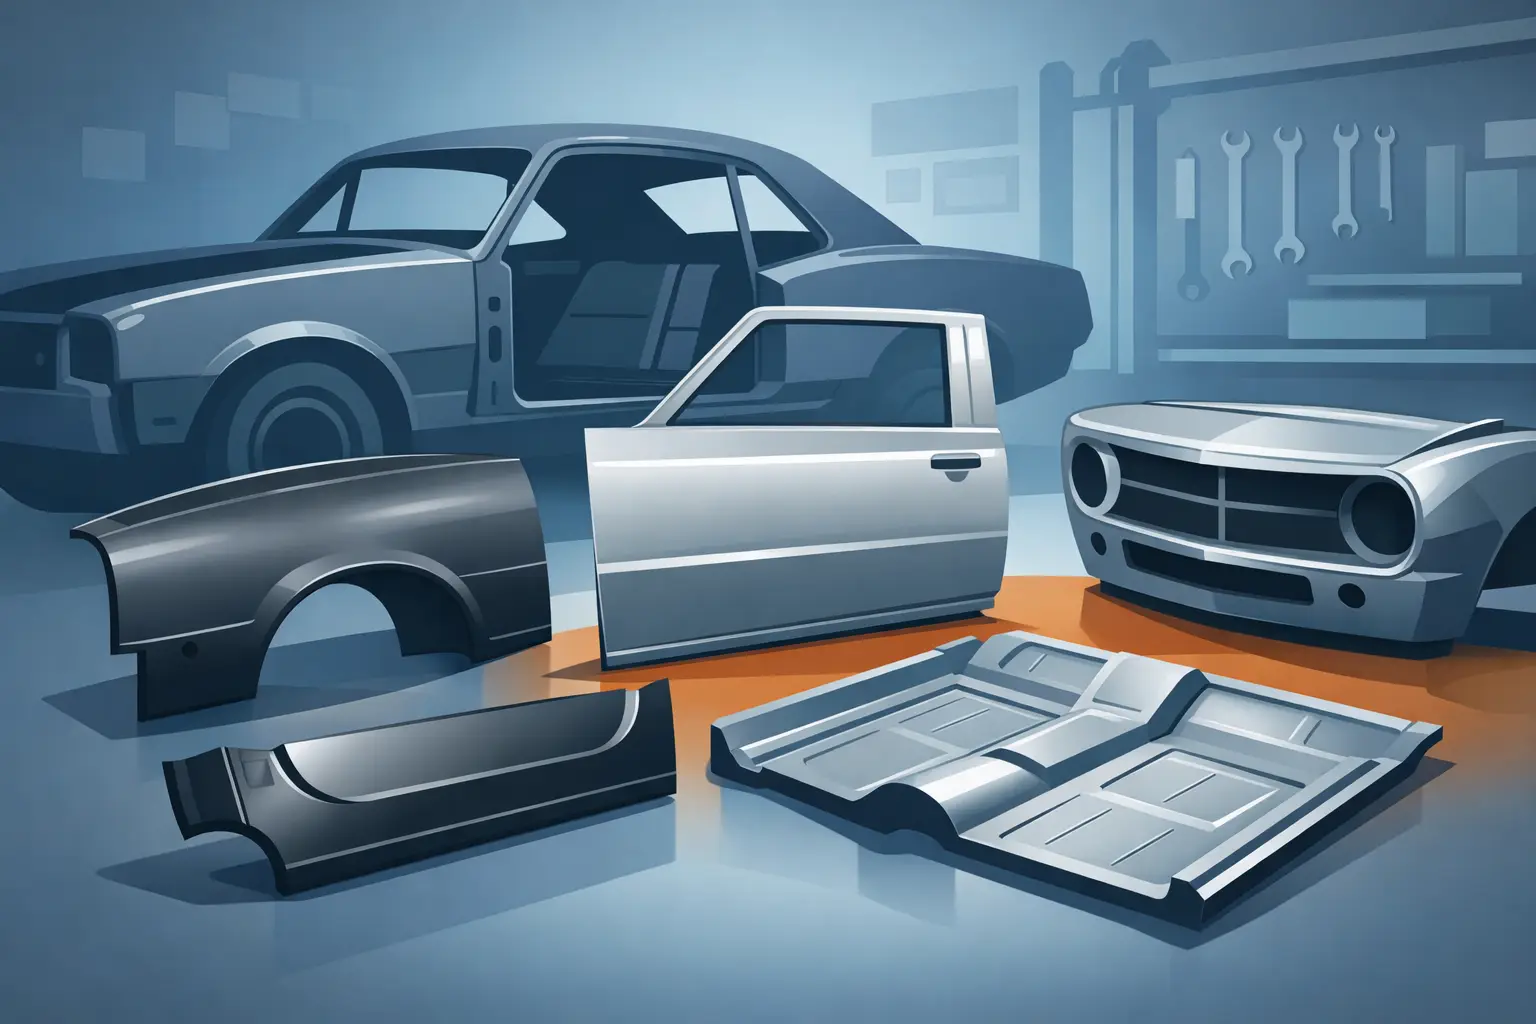
A rusted quarter panel or floor section can turn a promising project into a long weekend of cutting, fitting, and redoing work. The right restoration sheet metal panels help bring the job back under control, but only when they match the vehicle, the repair area, and the level of restoration you are building.
For a driver-quality classic, the goal may be a clean, solid repair that holds up to regular use. For a show-level build, body lines, stamping detail, and panel fit can matter just as much as the metal itself. Buying the first panel that looks close is how projects stall. Start with fitment, construction, and the real condition of the vehicle.
Start With the Rust You Can See – Then Check What Is Behind It
Surface rust is rarely the whole story. A lower fender may look rough while the inner structure is still solid. On the other hand, a small blister at the bottom of a door can point to rust inside the skin, seam, brace, or rocker area.
Before ordering panels, inspect both sides of the damaged section when possible. Pull interior trim, check underneath the vehicle, and look inside wheel wells and trunk corners. Tap questionable areas with a body hammer or pick at soft spots with an awl. You are looking for thin metal, trapped dirt, failed seams, and rust that has spread beyond the visible hole.
This inspection determines whether you need a patch panel, a lower section, or a complete replacement panel. It also helps prevent a common mistake: welding fresh metal over rusted supports or inner panels. The exterior may look finished, but corrosion will keep working from behind.
Choose the Right Type of Restoration Sheet Metal Panels
Not every repair calls for the largest available panel. A smaller patch can save time and preserve original metal, while a full panel may produce a better result when damage crosses body lines or extends through multiple seams.
Patch Panels for Localized Repairs
Patch panels work well when rust or collision damage is limited to one section. Common examples include lower cab corners, wheel arch repairs, floor patches, and the bottom edge of a door or fender.
The benefit is simple: you remove only what is bad. That can reduce alignment work and keep more factory structure in place. The trade-off is that patch panels require careful trimming and metal finishing. A poor cut line or rushed weld can create distortion that takes longer to correct than installing a larger section.
Full Panels for Cleaner Body Lines
Full fenders, door skins, quarter panels, hoods, and bedside panels make sense when the original piece is badly rusted, bent, or covered in old repairs. They are also often the better choice when a repair would run through a sharp body line, a wheel opening, or a heavily shaped section of the body.
A full panel gives you fresh metal across a larger area, but it does not eliminate fitting work. Even quality replacement panels may need minor adjustment around mounting holes, edges, and trim locations. Always test-fit before primer, seam sealer, or paint.
Structural Panels Need More Attention
Floors, braces, rockers, cab supports, core supports, and inner wheelhouse sections do more than improve appearance. They help carry loads, support body alignment, and maintain door gaps. If these areas are compromised, replace or repair the structure before finishing outer panels.
This order matters. A new door skin cannot correct a sagging hinge pillar. A clean rocker panel will not fix a floor support that has rusted away. Build the vehicle from the inside out and from the structure to the skin.
Fitment Is More Than Year, Make, and Model
Vehicle-specific fitment is the first filter, not the final answer. Classic trucks and cars can have production changes within the same model year, and previous owners may have already swapped parts, modified openings, or altered mounting points.
Confirm the body style, wheelbase when applicable, door count, bed length, trim package, and any other detail tied to the panel. Compare photos and measurements against the vehicle before cutting anything apart. If you are replacing a left or right panel, verify the side from the driver’s seat perspective, not while standing in front of the vehicle.
It also pays to inspect the panel as soon as it arrives. Check for shipping damage, compare the shape to the original part, and set it in place before the return window closes. A panel can be technically correct for the application and still require a conversation if the stamping, mounting flange, or opening does not match what is on your vehicle.
HCR Custom Fabrication understands that fitment questions are part of the job, especially when a classic vehicle has lived through decades of repairs. Getting help before you order can save money, shipping time, and unnecessary cutting.
Panel Quality Shows Up in the Details
Replacement sheet metal is not all made to the same standard. The difference may not be obvious from a single catalog photo, but it becomes clear when you start aligning gaps and preparing for paint.
Look at the panel’s gauge, stamping definition, edge shape, mounting points, and protective coating. Heavy, accurate stampings generally hold their shape better during fitting and welding. Crisp body lines and correctly formed flanges reduce the amount of filler and reshaping needed later.
Gauge matters, but thicker is not automatically better. A panel that is much heavier than the factory metal can be harder to form, weld, and blend into surrounding sections. The best choice is usually a panel that closely matches the original material and is properly shaped for its location.
Coated panels provide useful protection during storage and installation, but coatings must be handled correctly before welding. Clean the weld area to bare metal as required, then protect the backside and seams after the repair. Weld-through primer can help on overlapping flanges, while epoxy primer, seam sealer, and cavity protection help keep moisture from returning to the repair.
A Better Installation Starts Before the First Cut
The old panel provides the best reference you have. Before removal, measure door gaps, wheel opening placement, body-line height, and distance from nearby mounting holes. Take photos from several angles. Mark reference points with a paint pen and brace openings when removing structural material.
When fitting a replacement section, trim gradually. You can always remove more metal, but adding material back after an oversized cut creates extra work. Aim for a controlled butt weld where appropriate, with a consistent gap that allows good penetration without forcing the panel into place.
Heat control is one of the biggest factors in a clean repair. Long continuous welds put too much heat into thin sheet metal and can warp broad, flat surfaces. Use short tack welds, move around the panel, and allow time for the metal to cool. Grind welds carefully so you do not thin the surrounding panel or create a low spot.
After welding, inspect both sides of the repair. Seal exposed seams, prime bare metal, and protect enclosed areas where condensation and road debris can collect. A panel installation is only as durable as the corrosion protection behind it.
Know When a Panel Repair Is Worth Doing
Some projects need a repair panel. Others need a more complete plan. If rust has spread across several adjoining panels, reached major supports, or damaged body mounts and suspension attachment areas, evaluate the overall condition before buying parts one at a time.
For a work truck or dependable weekend driver, a properly installed replacement section may be the practical answer. For a high-value classic, matching original contours and preserving factory seams may justify more extensive panel replacement or professional metal work. Neither approach is wrong. The right choice depends on the vehicle’s purpose, budget, and how long you plan to keep it.
The best restoration sheet metal panels do not just cover damage. They give you sound metal to build on, correct body lines to finish, and confidence that the repair will stay solid after the vehicle is back on the road. Take the time to verify fitment, inspect the structure, and protect every seam – your next round of bodywork will be easier because of it.





You must be logged in to post a comment.