


 Best Seller


Classic Car Floor Pan Replacement Done Right
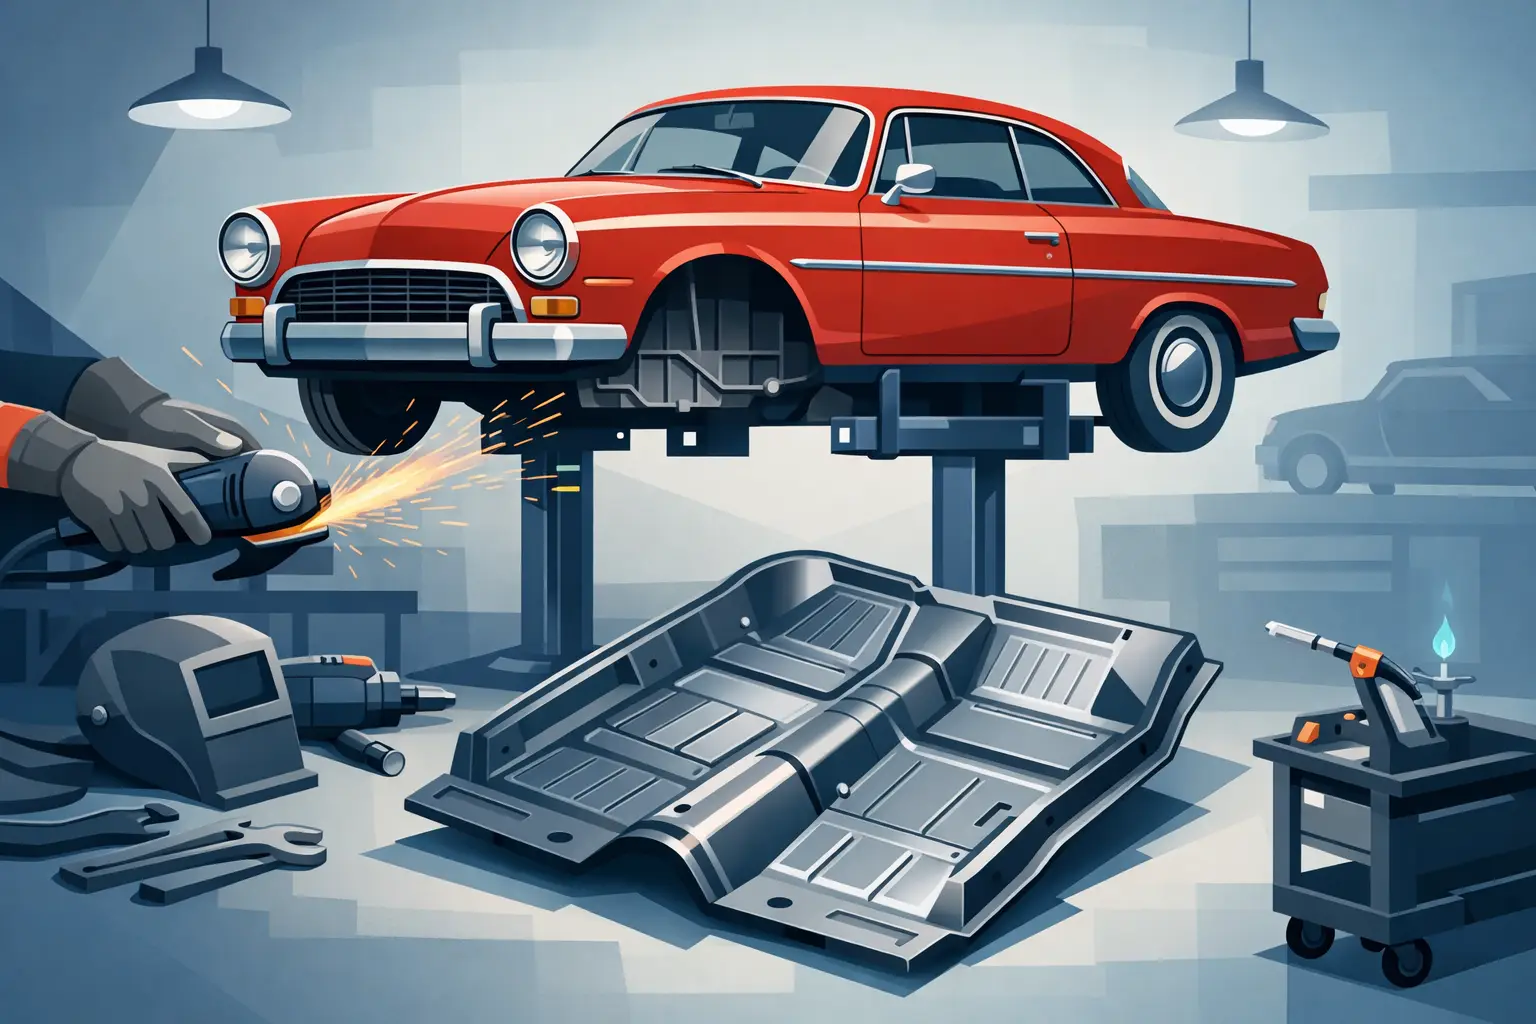
A soft spot under the driver’s heel can turn a promising classic into a project that needs real attention. Classic car floor pan replacement is not just about making the interior look clean again. The floor supports seats, belts, pedals, body alignment, and the overall safety of the vehicle. Done right, it restores strength and gives the build a foundation worth finishing.
Start With a Full Rust Assessment
Floor rust rarely stops at the visible hole. Moisture gets trapped under carpet, sound deadener, insulation, and factory seam sealer, then works from the inside out. Before ordering panels or cutting metal, pull the interior far enough apart to see the complete problem.
Check the front and rear floor sections, toe boards, transmission tunnel, rocker panels, inner braces, seat mounts, and frame or unibody rails. Probe questionable areas with a pick or small hammer. Surface rust may be recoverable, but metal that flakes, flexes, or has pinholes has already lost strength.
Also look underneath the car. A floor pan can appear solid from above while the braces below are thin or detached. If rust has reached the rocker structure, torque boxes, or subframe mounting areas, the repair may need to extend beyond a simple patch panel. That is the point where a careful plan saves time and prevents buying the wrong sheet metal.
Choose Panels That Match the Vehicle
A universal flat patch is sometimes fine for a small, non-structural repair. It is rarely the best answer for a large section of a classic car floor. Correct vehicle-specific panels preserve factory contours, drain locations, braces, seat mounting areas, and the clearance needed for pedals, exhaust, and driveline components.
Fitment matters most on vehicles with stamped floor ribs or complex curves. A panel that is close enough can still create extra hours of trimming, reshaping, and welding. It can also leave the seat sitting crooked or cause carpet and trim to fit poorly later.
When selecting replacement metal, verify the year, make, model, body style, and whether the car has a manual or automatic transmission. Convertibles, wagons, two-door models, and different wheelbase versions may use different floor structures. Compare the panel’s dimensions and features to your car before cutting anything out.
HCR Custom Fabrication helps classic vehicle owners find restoration sheet metal with fitment and real-world function in mind. The right part costs less than correcting a poor-fitting part after it has been welded in.
Decide Between a Patch and Full Floor Pan Replacement
The right repair depends on the extent of corrosion, not just the size of the hole you can see. If damage is confined to one small area and surrounding metal is clean, thick, and solid, a properly shaped patch can be a durable repair. The patch should extend well past all weakened metal and follow a sensible body line or stamped feature when possible.
A larger classic car floor pan replacement makes more sense when corrosion spreads across multiple sections, reaches factory seams, affects seat brackets, or has compromised the panel’s stamped strength. Replacing a complete side or a major section can actually produce a cleaner, stronger result than welding several small patches together.
There is a trade-off. Full panels require more careful alignment and may involve drilling factory spot welds, removing braces, or supporting the body. But they reduce the number of seams and can better restore the original structure. Do not let a low panel price make the decision for you. Factor in labor, hidden rust, fit-up time, and the final quality of the repair.
Brace and Measure Before Cutting
A car body can move when large sections of floor are removed, especially on unibody cars or convertibles. Support the vehicle on solid, level stands placed at factory-recommended structural points. Do not support it under rusty floor pans.
Before cutting, measure door gaps, cross-measure between fixed points, and record the location of seat mounts and braces. If the floor is tied into rocker panels or other structural areas, weld temporary bracing across door openings or inside the cabin as needed. This is not overkill. A few minutes spent measuring can prevent a door alignment problem that takes days to correct.
Remove fuel lines, wiring, brake lines, carpet, insulation, and anything else near the weld zone. A welding blanket helps protect areas that cannot be removed, but fire safety still comes first. Keep an extinguisher nearby and check the underside repeatedly while welding. Smoldering seam sealer and insulation can ignite long after the arc stops.
Cut Only to Solid Metal
Mark the repair area after the replacement panel has been test-fitted. Cut beyond the rust until the remaining factory metal is clean and strong. Avoid making a repair panel larger than necessary, but do not leave a thin rust edge simply because it is easier to reach.
A cut-off wheel, air saw, or electric body saw can work well depending on access. Take your time around braces, rails, and hidden lines. If you are separating a factory seam, drill out spot welds rather than slicing through both panels. Keeping the underlying structure intact makes the replacement cleaner and stronger.
Once the bad metal is out, inspect the cavity behind it. This is the best time to remove scale, treat remaining corrosion, repair damaged braces, and address blocked drains. Installing fresh floor metal over untreated rust only delays the next repair.
Test-Fit Until the Panel Sits Naturally
Set the panel in place and check it from both sides. The edges should meet with an even, narrow gap for a butt weld, or have a clean overlap if the repair design calls for a lap joint. The panel should sit without being forced into position by clamps.
Confirm seat mounting locations, pedal clearance, shifter opening alignment, and the fit of any braces before welding. If the panel includes factory ribs, make sure they line up with adjacent sections. A little extra work during fit-up pays off when the interior goes back in and everything still lines up.
Weld for Strength Without Warping the Floor
Most classic car floor work is well suited to MIG welding with the proper wire, shielding gas, and machine settings for the panel thickness. Practice on scrap metal first if needed. A floor pan is thin enough to burn through quickly, especially where old metal has been weakened by corrosion.
Tack the panel in several places, then recheck alignment before committing to the seam. Use short welds spaced apart across the repair instead of running one long bead. Move around the panel to control heat and allow the metal to cool between welds. Heat distortion can turn a good-fitting panel into a wavy floor that requires unnecessary finishing work.
Plug welds are used where the original panel was spot-welded to a brace or flange. Clean both mating surfaces to bare metal, use weld-through primer where appropriate, and make sure each plug weld fully ties the panel to the structure below. Grind welds only as much as needed. Grinding them flat may look tidy, but removing too much material weakens the joint.
Seal Both Sides of the Repair
Fresh steel is only the first half of the job. The repair needs protection on the cabin side and the underside, especially on vehicles driven in wet conditions or exposed to road salt in Virginia, Maryland, West Virginia, or North Carolina.
After welding and cleaning the repair, coat bare metal with a quality epoxy primer. Apply seam sealer to every lap joint, edge, and factory-style seam that can collect moisture. Then follow with the appropriate topcoat, underbody coating, and cavity protection for enclosed areas such as braces and rockers.
Do not trap moisture under heavy coatings. The metal must be dry and properly prepped, and drain paths need to remain open. Reinstall insulation only after the coatings have fully cured. If the original carpet was soaked or contaminated with rust debris, replacing it is often smarter than putting a moisture source back on top of new metal.
Know When to Bring in Fabrication Help
A straightforward patch can be a satisfying garage job for an experienced DIY owner with welding equipment. Structural rust, complex contours, missing braces, and major body movement are different situations. If the repair affects seat belt anchors, suspension mounting points, rocker structure, or body alignment, professional fabrication support is a practical investment.
The best floor repair is the one that fits correctly, welds to sound structure, and stays protected long after the carpet is back in place. Take the time to inspect deeper than the visible damage, choose panels that match the car, and build the repair around strength rather than shortcuts.





You must be logged in to post a comment.